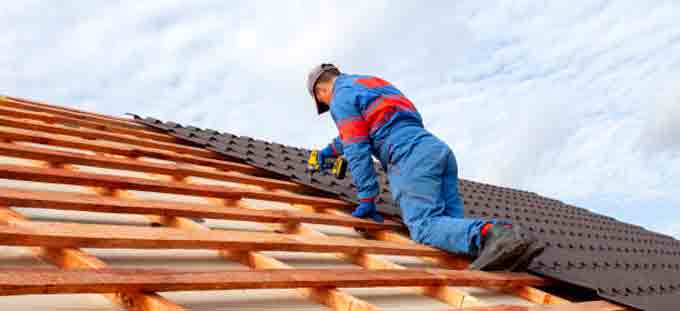
Installing a standing seam metal roof is an excellent way to protect your home from the elements. It offers superior protection against water, wind and UV damage while providing a stylish and energy-efficient option. However, it is important to understand the installation process before attempting this project on your own. This comprehensive guide will provide step-by-step instructions for installing a standing seam metal roof, as well as answers to commonly asked questions about the process.
Materials Needed

Before beginning the installation process, be sure to gather all of the necessary materials. The most important item you will need is a standing-seam metal roof panel that has been cut to size according to your measurements. You will also need screws or clips designed specifically for standing-seam roofs, foam or synthetic rubber sealant, and any other tools required for cutting or bending the panels if needed.
Preparation
When you are ready to begin installing the roof, take time to properly prepare your work area. Start by cleaning off any debris from the surface of your existing roof deck and make sure all seams are sealed with tape or caulk before proceeding with installation. Additionally, inspect all of the metal panels for any signs of damage before installing them and replace any parts that are not up to standards.
Installation Process
Now it’s time to begin installing your new metal roof! Start by attaching one side of the first panel with screws or clips along its length at consistent intervals (typically 12 inches apart). Next, attach the opposite side in a similar manner until both sides are secure. Then gently bend each panel into place and use sealant along each seam where two panels meet in order to keep out moisture and air leaks. As you go along, be sure not leave any gaps between panels that can lead to leakage down the line! Once completed, inspect each panel once more for proper alignment and secureness before moving onto the next section.
Finishing Touches
Now that all panels have been installed correctly, it’s time for some finishing touches! Caulk around areas such as vents or other openings on your roof for extra protection against water infiltration. Additionally, if you opted for standing-seam caps or ridge caps when purchasing materials then these should be put into place over top of seams using adhesive or clips in order keep out moisture and insects from getting inside your home through these areas. Finally check all screws one last time and clean up any excess sealant or caulk from surfaces before moving onto enjoy your newly installed metal roof! Whenever you wish to learn new information on roofing, you must sneak a peek at approvedroof site.
What tools do I need in order install a standing seam metal roof?
You will need items such as a screwdriver (or drill), measuring tape/ruler, tin snips/shears (for cutting panels), leveler (for even distribution), sealant/caulk (for sealing seams), clips/screws specific for standing seam roofs (for attaching panels) and optional ridge caps/standing-seam caps (if desired).
How long does it take to install a standing seam metal roof?
The answer varies depending on several factors such as size of the area being covered, experience level of those working on project ,and number of people involved etc; but generally speaking it could take anywhere from 1 – 3 days depending on size/scope of installation process provided by professional contractors.
Conclusion
Installing a standing seam metal roof may seem daunting at first but with proper knowledge and preparation it can actually be fairly simple! By following our step-by-step guide above you can ensure that everything is done correctly so that you can enjoy many years ahead without worrying about potential leaks due poor quality workmanship. Thanks again for taking time read through this article we hope that it was able help educate you on how install standing seem metal roofs properly.


 How to Do Fundraising Online